
Happy pie day...err...pi day!


Happy pi day all!  You know...pi...the number...3.14...yeah that one!  It's March 14th and along with all my fellow nerds, I felt the need to tell everyone, including random check people at the local Wal-Mart that it was pi day...pie day...and that they needed to go eat pie.  Seriously, it's an international requirement.  Look it up!

Although I really wanted to make a summery pie, like a peach pie, they aren't in season.  I guess my inner baker is trying to make up for all of the crazy rainy, cold days we have had here in the Pacific Northwest lately.  Instead, I settled for an apple pie.  Then I tortured myself for HOURS while it cooled enough to cut into it and eat it without turning it into a sloppy, runny mess.  You know, that way you all get to see pretty pictures.  You should all feel honored...seriously, check out my Facebook status updates.  It was hard to resist!
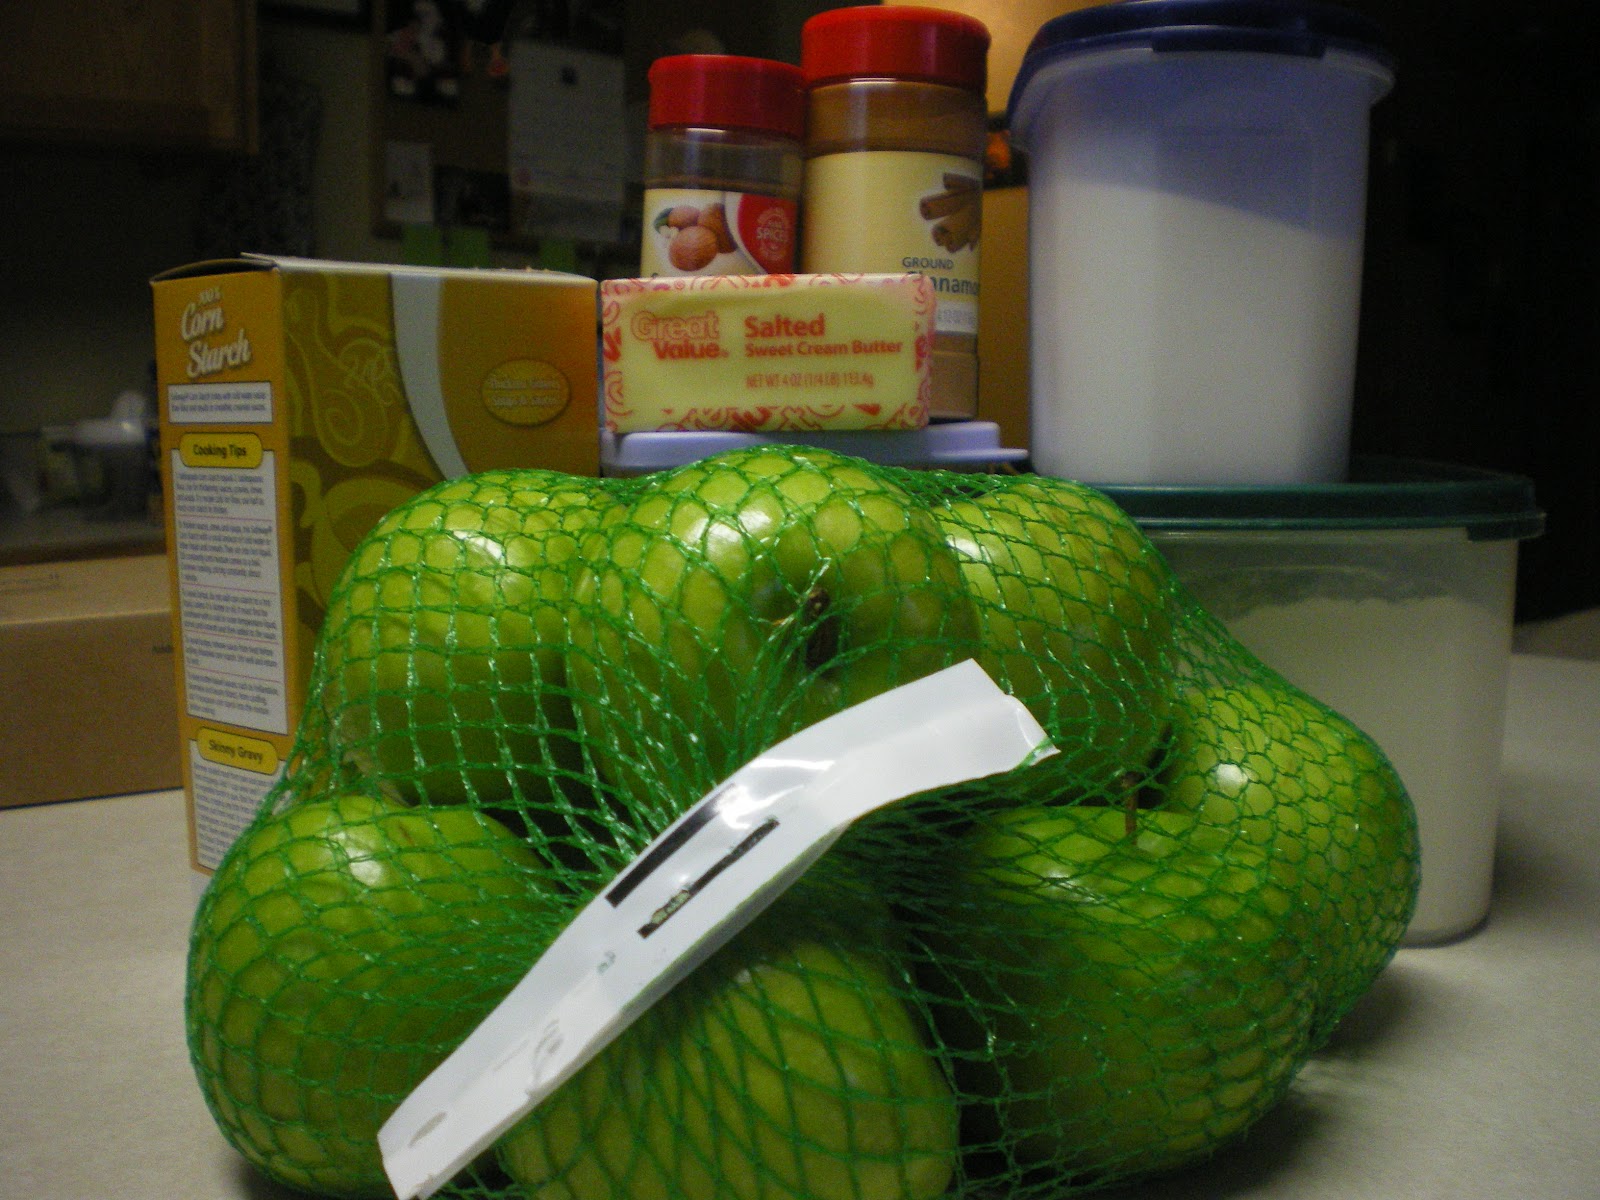

Our ingredients...note there are a few shown here I didn't use since I ended up using a premade dough and decided to use flour instead of corn starch as the thickener in the filling...


Yum!  Apples!


Our filling ingredients


Pour filling into pie crust.


Seal top crust over top, remembering to make a few slits for venting.


Doesn't it look delicious?!


Well worth the wait!  I love apple pie! : D


Apple Pie
Makes one 9" pie

2 pie crusts (you can make your own or cheat like I did and buy refrigerated pie dough)
6 cups peeled sliced apples (about 6 medium apples)
3/4 cup sugar
2 Tbsp. flour
3/4 tsp. ground cinnamon
1/4 tsp. salt
1/8 tsp. ground nutmeg

Preheat oven to 425 F.

Line a 9" pie plate with one of the pie crusts.  Make sure that it is placed snugly into the pie plate, so that there aren't any bubbles.

Mix together the filling ingredients and spoon into the pie crust already set into the pie plate.

Place the top crust over top of the filling and gently tuck the extra dough from the top crust underneath the edge of the bottom crust and press down to seal.  Cut a few slits to allow for venting while it cooks.

Bake for 40-45 minutes or until the apples are tender and the crust is golden brown.  If the edges are getting kind of dark, cover them with some aluminum foil.

Cool on a rack for 2 hours before cutting.

Comments

Popular posts from this blog

Homemade Cinnamon Rolls...from scratch!

Tuesdays are our lazy days around our house.  I don't work until the afternoon and my daughter doesn't have school, so it is kind of the day that we sleep in, have a yummy breakfast and get a few things done around the house.  This Tuesday, I decided to make it extra special and make homemade cinnamon rolls...from scratch!  I don't think there is any better breakfast than a delicious hot from the oven cinnamon roll that you made with your very own hands.  Plus, I had some leftover cream cheese frosting that tasted just like Cinnabon's frosting...so yeah, basically best breakfast EVER! lol Our ingredients... Add your milk, oil, and sugar to a saucepan.  Heat over medium heat until just below boiling. Sprinkle on the yeast and allow to sit for a minute. Stir in the 4 cups of flour. Allow to sit covered with a kitchen towel for an hour in a warm place.  then stir in the last 1/2 cup flour, baking powder, baking soda and salt. Place in ...

S'mores with a Twist!

Now that it is finally summer and the weather is beautiful here in Southwest Washington, that means it is time for camping and cookouts to begin.  The most important food item at these events of course, being s'mores.  Who needs the hot dogs, burgers and steaks...I'll take s'mores please!  : D For our family camping trip I decided to mix it up a bit and feature some new candy bars besides the Hershey's Milk Chocolate bars.  I hit the candy aisle at the grocery store and looked for every flat-ish candy bar available.  I ended up with a Hershey's Symphony bar, a Hershey's Cookies n' Cream bar, a Mr. Goodbar (my family's personal fav) and a Reese's Peanut Butter bar.  Time for the fun to begin!   We all had a blast trying the different bars and although they were all delicious, my mother-in-law and sister-in-law liked the Mr. Goodbar best, where as I LOVED the Reese's Peanut Butter bar.  I ate way too many after white water rafting...but I figure...

Happy St. Patrick's Day...have a cake pop!

I'm sure many of you know that yesterday was St. Patrick's Day.  A day for eating strange green foods and putting shamrocks on everything and of course drinking ridiculous amounts of alcohol.  Although I over course, like a good Irish girl, did all three, here we will talk about the eating green stuff part cause this is a food blog after all! A friend of mine recently brought to my attention that my experience is sorely lacking in one baking craze that is super popular right now, cake pops.  Until a few days ago, I had never made them...thought about it once, but I decided it wasn't worth the time and effort for the occasion. She of course begged me to do a post on them though because she wants to make them for her daughter's birthday.  So, being the wonderful friend that I am, I spent my day off working on cake pops.  I learned a few things...one, I seriously have no patience with disobedient baked goods and two, cake pops aren't all that hard, they are...