
Tuesdays are our lazy days around our house. I don't work until the afternoon and my daughter doesn't have school, so it is kind of the day that we sleep in, have a yummy breakfast and get a few things done around the house. This Tuesday, I decided to make it extra special and make homemade cinnamon rolls...from scratch! I don't think there is any better breakfast than a delicious hot from the oven cinnamon roll that you made with your very own hands. Plus, I had some leftover cream cheese frosting that tasted just like Cinnabon's frosting...so yeah, basically best breakfast EVER! lol

Our ingredients...

Add your milk,

oil,

and sugar to a saucepan.

Heat over medium heat until just below boiling.

Sprinkle on the yeast and allow to sit for a minute.

Stir in the 4 cups of flour.

Allow to sit covered with a kitchen towel for an hour in a warm place. then stir in the last 1/2 cup flour, baking powder, baking soda and salt.

Place in a large bowl and refrigerate overnight (or form rolls immediately).
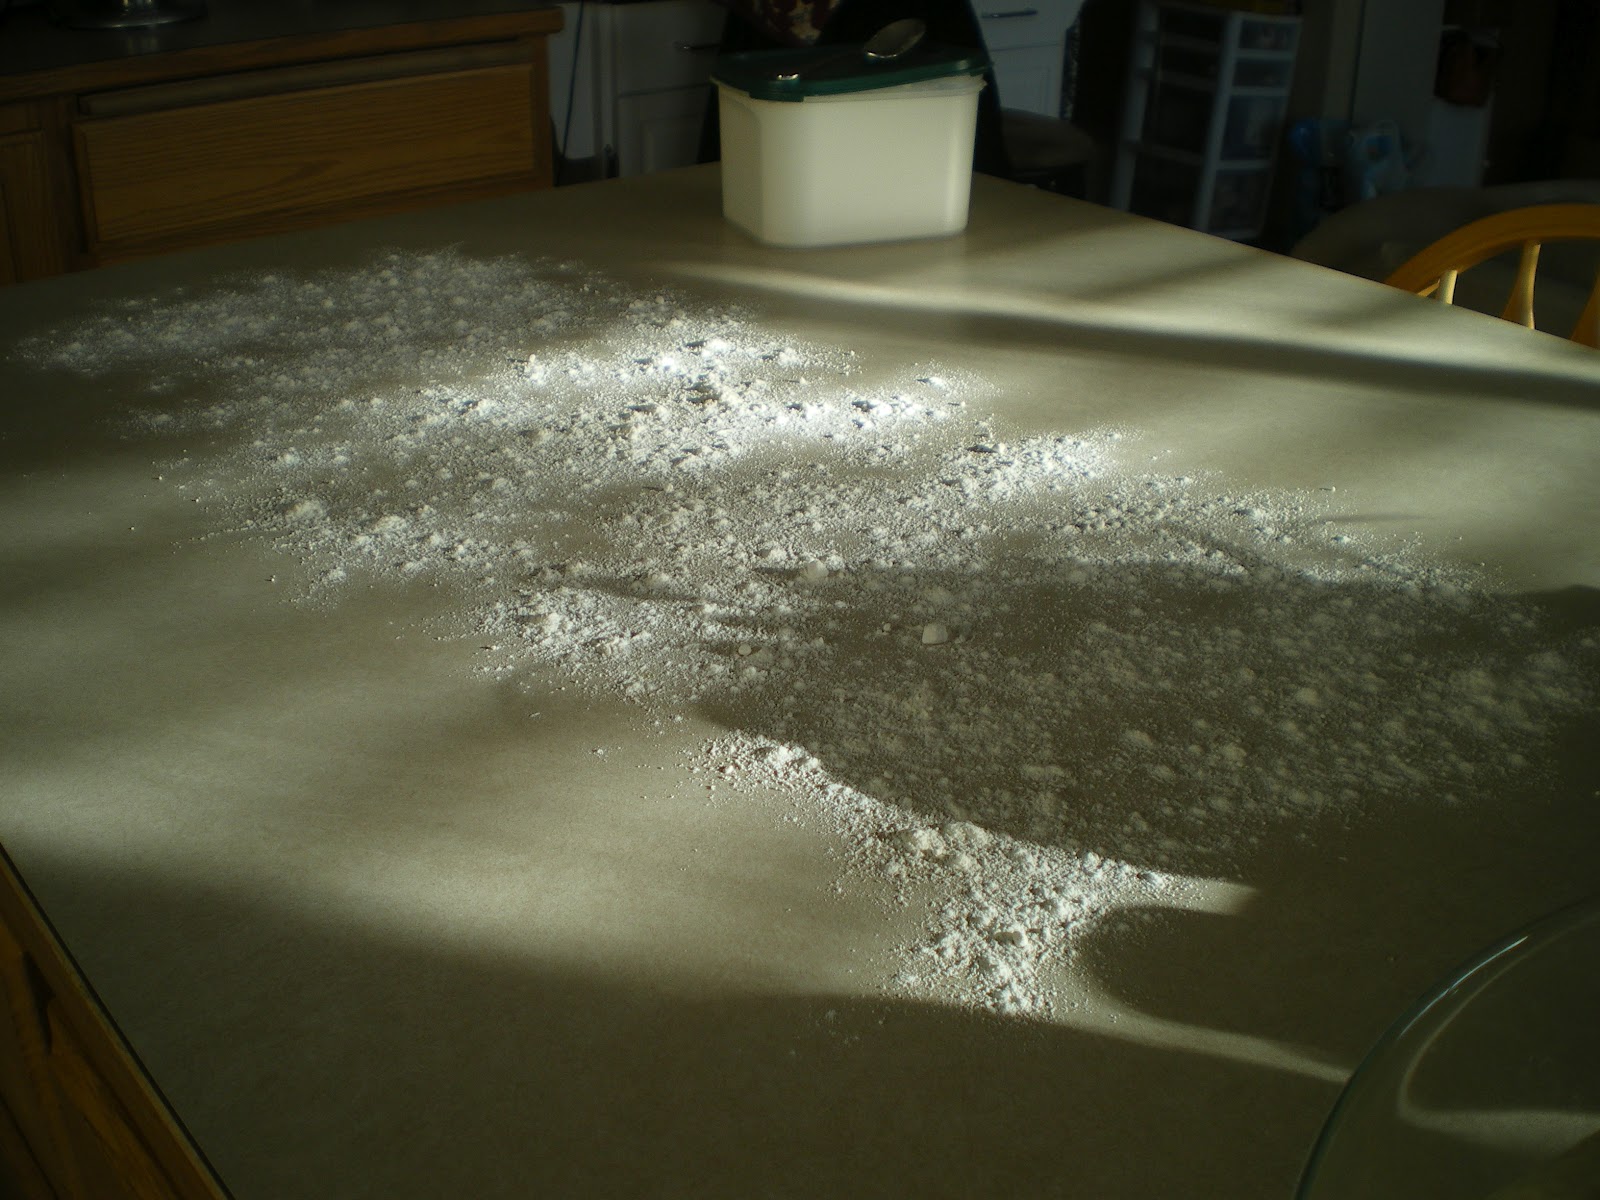
Sprinkle your work surface with flour.

Roll out 1/2 the dough in a rough rectangle and roll out until thin. (1/8"to 1/4")

Pour on a generous amount of butter (1/4-1/2 cup) and spread evenly.

Sprinkle on 1/2 cup sugar.

Generously top with cinnamon!

Yum cinnamon!!

Starting with the end farthest from you, roll into a tight log...or snake...lol

Your log/snake!

Place some butter in the bottom of the baking dish.

Slice those log/snakes into rolls!

Place in the baking dish

Not too over crowded

and allow to rise on the counter, covered by a kitchen towel.

Bake at 375F for 15-18 minutes.

Top with frosting...

Serve and devour! : D
Cinnamon Rolls with Cream Cheese Frosting
Makes 35-50 cinnamon rolls, 3-4 trays
recipe adapted from Pioneer Woman
2 cups whole milk (or use what you've got on hand)
1/2 cup vegetable oil
1/2 cup sugar
1 package active dry yeast
4 cups flour (plus an additional 1/2 cup later)
1/2 tsp. baking powder
1/2 tsp. baking soda
1 1/2 tsp. salt
1/2 cup melted butter
1 cup sugar
lots of cinnamon!
Start off by preparing the dough. This can be done the day of, or like me the night before.
Heat the milk, oil and 1/2 sugar in a saucepan on medium heat until just before the boiling point.Set it aside to cool so that it is still warm, but not super hot. Think warm to the touch, but not so much so that it will burn your finger. When it cools to this point, sprinkle on the yeast. Allow to sit for 1 minute, then begin adding in the flour and stir until just combined. Don't mix it forever! You must be careful with bread dough at this point! Set it aside and cover with a kitchen towel for 1 hour in a warm place.
Remove the towel and add in the baking powder, baking soda, salt and extra 1/2 cup flour. Stir until combined. You can now start rolling it out and making cinnamon rolls, or cover it and place it in the fridge for up to 3 days. Just watch it and punch it down if it tries to escape the bowl! : D
When you are ready to bake, preheat oven to 375F.
Remove half of the dough from the bowl. Flour your surface generously and roll the dough out into a rough rectangle shape until nice and thin. I rolled mine until it was about 1/8" thick. Pour on 1/4 cup (or more if you'd like) butter and spread evenly over the dough. Sprinkle on about 1/2 cup sugar and then generously sprinkle on the cinnamon. Use as much or as little as you'd like, it is more or less personal taste.
Now, starting at the end farthest from you, tightly roll the dough towards you to form kind of a snake like form. Slice the dough with a nice sharp knife 1/2" to 1" wide, depending on how big you want them!
Pour some butter or spray the bottom of your pan with some non-stick spray. Place the cinnamon rolls in the tray, not too close together, and once again cover with a kitchen towel for about 20 minutes to allow them to rise on final time before baking.
Bake, uncovered, for 15-18 minutes, watching carefully towards the end so they do not burn. While they are in the oven, work on your frosting.
Cream Cheese Frosting
Makes just enough, plus maybe a tiny bit extra for these
recipe adapted from Paula Dean
4 oz. cream cheese (1/2 package)
1/2 stick butter
1/4 tsp. vanilla
1 cup powdered sugar, sifted
In a stand mixer, beat cream cheese, butter and vanilla until fluffy and smooth. Add sugar at low speed and increase speed until fluffy and light.
Top with your choice of frosting or icing as soon as they come out of the oven. Allow to cool a few minutes and serve!
I am sooo making these with Jack on Friday (our lazy morning)! Cinnamon rolls should be their very own food group :)
ReplyDeleteAwesome! I'm sure he will love them! And I agree...they should definitely be their own food group!
DeleteThis comment has been removed by a blog administrator.
ReplyDeleteSERIOUSLY!!!! :D
Delete